Hello,
Welcome back to my blog! I am sharing a project that I've wanting to do and finally did it. That is to make faux wax seal with embossing powder.
I first experimented with a Stampendous Rose Quartz EP, and it turned out quite well. I heat embossed 5 to 6 layers of the Rose Quartz EP and stamped with metallic gold ink (stamp from Studio Light Art By Marlene STAMPBM47).
Then I went on to make more with Gold EP and Brass EP. Some of them turned out well, but others not so much. I think it could be that the embossed layer too thin.
So the I tried something different, I first heat emboss two layer of an ultra thick EP by Stampendous, then a couple layer of the Rose Quartz, and finished with the ultra think. Et voila, the best one.
The impression is even and deep, I could see some tiny bit of EP oozing to the side. I am really happy how this one turned out. Guess this is the formula I should use.
Now I made this the focal point of my card.
I inked blended the background softly, stamped some text, stenciled with a transparent embossing paste, and added gold splatter.
I adhere the dry embossed (hand cut) wings and then the faux seal on the top. This is my last Guest Designer post for my LSS Scrapbook Centrale. It's been an honor and I thank the creative team for inviting me.
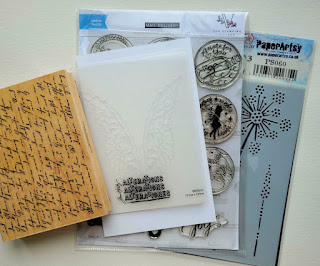
Here's a couple photos of most of the supplies I used to create my card and the faux seals.
Thanks so much for coming over. Sending fairy hugs!!


2 comments:
OMG, Cindy - what gorgeous seals you've created! Especially love the fairy one and the card you designed for it!! Great job with your guest designing stint!!
AMAZING Cindy. what a great technique and how delightful is that fairy seal. Great card.
Post a Comment